Industry News
How to Splice a Fiber Optic Cable: A Step-by-Step Guide
2026-06-12
The fastest and most reliable way to splice a fiber optic cable is fusion splicing, which uses heat to permanently fuse two fiber ends together with signal loss as low as 0.02 dB per splice. The alternative method, mechanical splicing, is faster to perform but typically results in higher loss of around 0.3 dB per connection.
This guide walks through both methods, the tools required, the step-by-step process, common mistakes, and how to test a splice once it is complete, giving technicians and network installers a practical reference for getting reliable results in the field.
Content
- 1 What Are the Two Main Ways to Splice a Fiber Optic Cable?
- 2 What Tools Do You Need to Splice a Fiber Optic Cable?
- 3 How Do You Splice a Fiber Optic Cable Step by Step?
- 4 How Do You Perform a Mechanical Splice on a Fiber Optic Cable?
- 5 Why Does Fiber Splice Quality Matter for Network Performance?
- 6 What Are the Most Common Mistakes When Splicing Fiber Optic Cable?
- 7 Which Type of Fiber Optic Cable Is Easier to Splice?
- 8 How Much Does It Cost to Splice a Fiber Optic Cable Professionally?
- 9 Frequently Asked Questions
What Are the Two Main Ways to Splice a Fiber Optic Cable?
The two main ways to splice a fiber optic cable are fusion splicing and mechanical splicing, and the choice between them depends on the required signal quality, budget, and how permanent the connection needs to be.
Fusion Splicing vs Mechanical Splicing
| Factor | Fusion Splicing | Mechanical Splicing |
|---|---|---|
| Typical Signal Loss | 0.01 - 0.05 dB | 0.1 - 0.5 dB |
| Equipment Cost | 2,000 - 15,000 USD | 50 - 200 USD per kit |
| Time per Splice | 2 - 5 minutes | 1 - 2 minutes |
| Permanence | Permanent | Semi-permanent |
| Best Use Case | Long-haul, high-speed networks | Emergency repairs, short-term fixes |
Comparison of fusion splicing and mechanical splicing, showing the trade-offs between signal quality, cost, and speed.
What Tools Do You Need to Splice a Fiber Optic Cable?
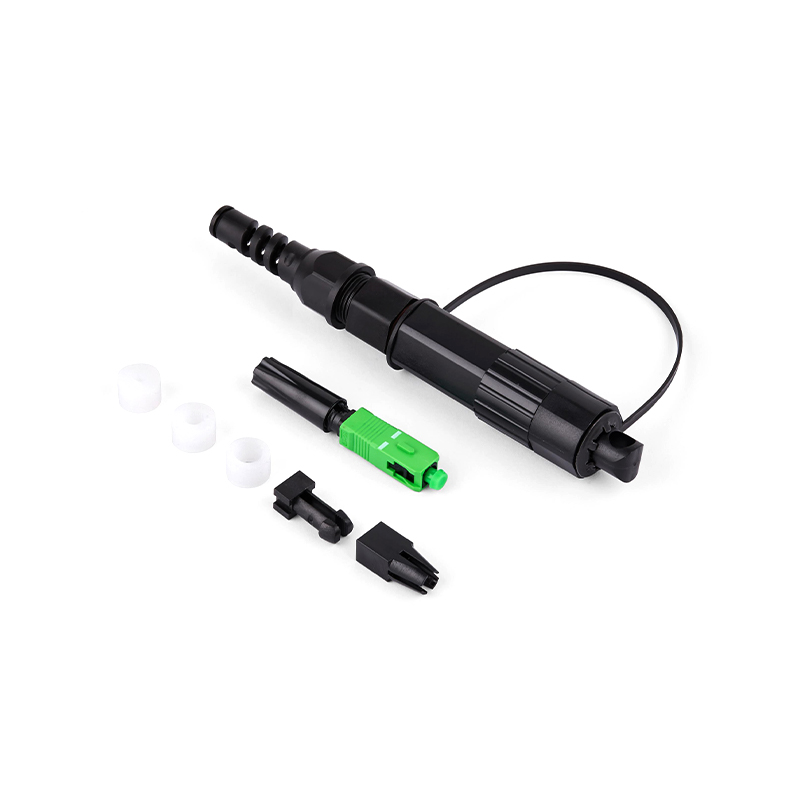
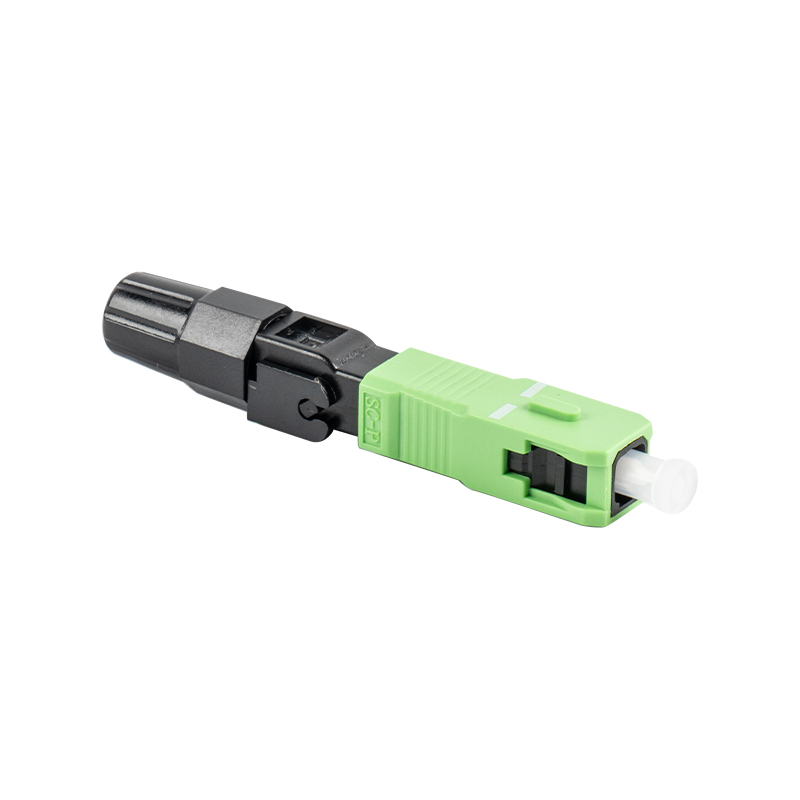
To splice a fiber optic cable properly, you need a fiber stripper, precision cleaver, fusion splicer or mechanical splice kit, alcohol wipes, and a protective sleeve or enclosure. Missing any of these tools is one of the most common reasons for poor splice quality in the field.
Essential Equipment List
Fiber stripper: Removes the outer jacket and coating without damaging the glass core, typically stripping 25-40mm of coating at a time.
Precision cleaver: Creates a flat, perpendicular cut on the fiber end face, with quality cleavers achieving an angle deviation of less than 0.5 degrees.
Fusion splicer: Aligns and fuses two fiber cores using an electric arc, with modern machines completing alignment and fusion in under 10 seconds.
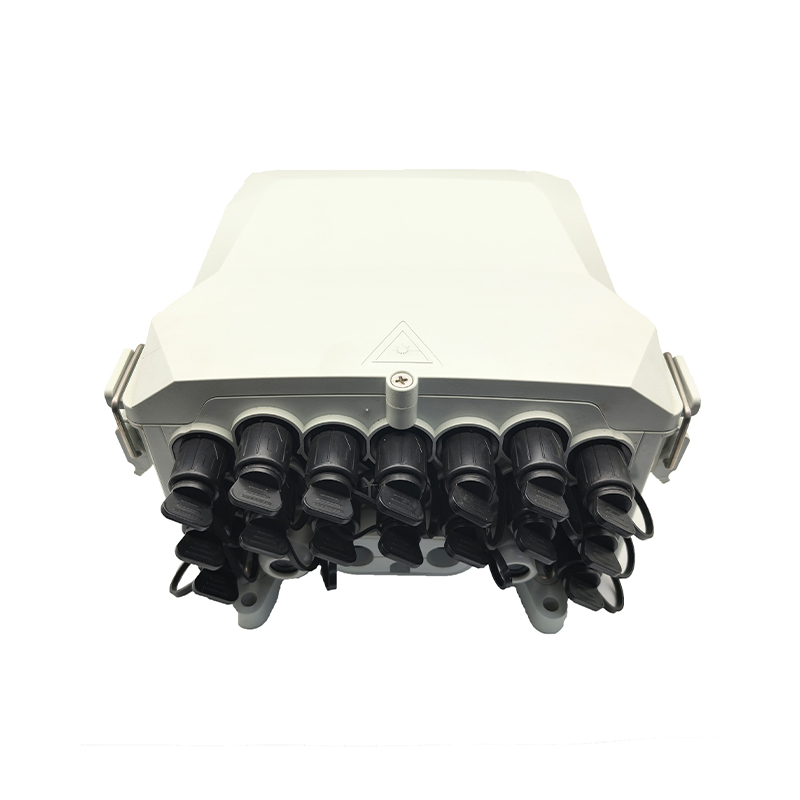
Splice protection sleeves: Heat-shrink sleeves that cover and protect the bare splice point, typically 40-60mm in length.
Optical power meter and visual fault locator: Used to test the splice afterward and confirm there is no excessive signal loss or break in the fiber.
How Do You Splice a Fiber Optic Cable Step by Step?
Splicing a fiber optic cable involves preparing the fiber, cleaving it precisely, aligning the two ends in a splicer, fusing them with heat, and protecting the joint with a sleeve. Following this sequence carefully is what determines whether the final connection meets industry loss standards.
Step 1: Strip the Cable Jacket
Use a cable stripper to remove the outer jacket and expose the buffer tubes, then strip each individual fiber down to the bare glass, leaving about 30mm of exposed fiber for handling.
Step 2: Clean the Fiber
Wipe the bare fiber with a lint-free wipe soaked in 99 percent isopropyl alcohol to remove any coating residue or dust, since even microscopic particles can increase splice loss significantly.
Step 3: Cleave the Fiber End
Place the fiber in a precision cleaver to create a flat, smooth end face, since a poor cleave angle above 1 degree is the leading cause of high-loss or failed splices.
Step 4: Load the Fiber into the Splicer
Insert both prepared fiber ends into the fusion splicer's holders, where the machine uses cameras and motors to automatically align the fiber cores to within 0.1 micron of precision.
Step 5: Fuse the Fibers
The splicer generates an electric arc that melts the glass and fuses the two ends together, a process that typically takes between 5 and 10 seconds and creates a near-seamless connection.
Step 6: Protect the Splice
Slide a heat-shrink protection sleeve over the splice point and place it into the splicer's heating oven for about 30 to 90 seconds to shrink it into a rigid, protective shell.
Step 7: Test the Connection
Use an optical power meter or OTDR to confirm the splice loss is within acceptable limits, generally below 0.1 dB for fusion splices on single-mode fiber.
How Do You Perform a Mechanical Splice on a Fiber Optic Cable?
A mechanical splice works by aligning two cleaved fiber ends inside a small alignment sleeve and holding them together with index-matching gel and a mechanical clamp, without using any heat. This makes it a fast option when a fusion splicer is not available.
Mechanical Splicing Process
Strip and clean: Prepare both fiber ends the same way as for fusion splicing, stripping the coating and cleaning with alcohol.
Cleave the ends: Use a precision cleaver to create flat end faces, since the mechanical splice depends entirely on physical contact between the fiber cores.
Insert into the alignment sleeve: Slide each fiber end into the mechanical splice unit until they meet in the center, where index-matching gel fills any microscopic gaps.
Secure the splice: Close the clamp or cover on the mechanical splice unit to hold the fibers firmly in place, completing the connection in roughly 1 to 2 minutes.
Why Does Fiber Splice Quality Matter for Network Performance?
Splice quality matters because every decibel of signal loss reduces the maximum distance and speed a fiber link can support, and a single poor splice can degrade an entire network segment carrying gigabits of data.
For example, a long-haul fiber route with 20 splices at 0.05 dB each adds only 1 dB of total loss, which is negligible. But the same route with poorly executed splices averaging 0.5 dB each would add 10 dB of loss, potentially requiring an additional signal amplifier or causing the link to fail entirely on long spans.
Acceptable Loss Standards by Splice Type
| Splice Type | Typical Loss | Acceptable Maximum |
|---|---|---|
| Fusion Splice (Single-Mode) | 0.02 - 0.05 dB | 0.1 dB |
| Fusion Splice (Multi-Mode) | 0.05 - 0.1 dB | 0.3 dB |
| Mechanical Splice | 0.1 - 0.3 dB | 0.5 dB |
Acceptable signal loss standards for different splice types, used as benchmarks during splice testing and quality control.
What Are the Most Common Mistakes When Splicing Fiber Optic Cable?
The most common mistakes are poor cleaving, contaminated fiber ends, misalignment in the splicer, and skipping the testing step, all of which can be avoided with careful preparation and proper tool maintenance.
Avoiding Common Errors
Dirty cleaver blades: A worn or dirty cleaver blade produces chips and hackles on the fiber end face, increasing loss by as much as 0.5 dB per splice. Replace cleaver blades after roughly 1,000 to 3,000 cleaves depending on the model.
Fiber contamination: Skin oils, dust, or alcohol residue left on the fiber end face can scatter light and create hotspots that burn during fusion, so always clean immediately before cleaving.
Incorrect arc calibration: Fusion splicers need periodic arc calibration, as an arc that is too hot or too cold can create bubbles or weak joints inside the splice.
Skipping the OTDR test: Without testing, a splice with hidden micro-bends or excess loss can pass visual inspection but still cause intermittent network failures later.
Which Type of Fiber Optic Cable Is Easier to Splice?
Multi-mode fiber is generally easier to splice than single-mode fiber because its larger core diameter of 50 or 62.5 microns provides more tolerance for minor alignment errors, compared to the 9-micron core of single-mode fiber.
Single-Mode vs Multi-Mode Splicing Difficulty
| Fiber Type | Core Diameter | Alignment Tolerance | Splicing Difficulty |
|---|---|---|---|
| Single-Mode | 9 microns | Very low | Higher |
| Multi-Mode | 50 - 62.5 microns | Moderate | Lower |
Multi-mode fiber's larger core makes it more forgiving during splicing compared to the tighter tolerances required for single-mode fiber.
How Much Does It Cost to Splice a Fiber Optic Cable Professionally?
Professional fiber splicing services typically cost between 20 and 80 dollars per splice, with the price depending on location, accessibility, and whether the job involves a small repair or a large multi-fiber cable.
For larger projects, such as splicing a 144-count fiber cable at a junction point, technicians may charge a flat project rate ranging from 500 to 2,000 dollars, factoring in setup time, testing, and documentation for each fiber strand.
Frequently Asked Questions
Can you splice fiber optic cable without a fusion splicer?
Yes, mechanical splicing allows you to join fiber optic cables without a fusion splicer, though it results in higher signal loss and is generally recommended only for temporary repairs or emergency fixes.
How long does it take to splice a fiber optic cable?
A single fusion splice takes about 2 to 5 minutes including preparation, fusing, and protective sleeve heating, while a full cable with multiple fibers may take several hours depending on the fiber count.
What causes high loss in a fiber splice?
High loss is most often caused by a poor cleave angle, contamination on the fiber end face, misalignment of the fiber cores, or incorrect fusion arc settings on the splicer.
Is fusion splicing better than mechanical splicing?
Yes, fusion splicing is better for long-term performance because it produces lower signal loss, around 0.02 to 0.05 dB compared to 0.1 to 0.5 dB for mechanical splices, and creates a permanent bond.
Do I need special training to splice fiber optic cable?
While basic mechanical splicing can be learned quickly, fusion splicing typically requires hands-on training to operate the equipment correctly and consistently achieve splice losses below 0.1 dB.


get in Touch

No.255 Lianfei Road, KandunIndustrial Park, Cixi City, ZhejiangProvince, China
Product Center
contact details
-
Email: [email protected]
-
Tel: +86 18367407397
Mobile
Copyright ? Ningbo Goshining Communication Technology Co., Ltd. Fiber Optic Solutions Manufacturer Fiber Optic Products Factory
