English
 Español

 Inquiry
Yes, a fiber optic line can be repaired, and in most cases the repair costs far less than pulling a new cable. Fiber optic line repair means restoring optical continuity and mechanical protection at a damaged cable, connector, or splice point, so the link meets the loss and reflectance limits it was designed for.
What decides the cost and the downtime is rarely the fibre itself. It is where the damage sits and how much slack the crew can find. A scuffed connector on a patch panel is a twenty-minute re-termination. A cable cut three hundred metres into a buried duct is a mid-span splice that needs a heat-shrink protector, a sealed closure, and a fresh OTDR trace before anyone drives away.
Content
- 1 Four Kinds of Fibre Damage and How Each One Is Repaired
- 2 Fusion Splicing vs. Mechanical Splices vs. Fast Connectors
- 3 A Seven-Step Repair Workflow That Holds Up in the Field
- 4 Testing: The Step Crews Skip When They Are in a Hurry
- 5 Five Mistakes That Turn a Repair into a Callback
- 6 When Replacing the Line Beats Repairing It
- 7 Frequently Asked Questions
Four Kinds of Fibre Damage and How Each One Is Repaired
Most fibre faults fall into four categories, and each one has a different repair method, a different tool list, and a different realistic downtime.
| Damage type | Typical cause | Repair method | Realistic downtime |
|---|---|---|---|
| Connector end face scratched or contaminated | Dust caps left off, dirty adapters, careless mating | Clean and re-inspect; re-terminate if the core is chipped | 15-45 minutes |
| Small-count cable cut or chewed | Rodents, trenching tools, ice loading | Mid-span splice, then protect the joint in a closure | 1-3 hours |
| Crushed duct or damaged aerial span | Excavation, vehicle impact, tension | Cut out the damaged section, splice in both directions, re-seal | 2-6 hours |
| Water ingress along the loose tube | Failed seal, rodent entry, flooded handhole | Locate the wet span, replace it, dry and re-seal the closure | 4 hours to 2 days |
The row that surprises most people is the last one. Water rarely damages the fibre only where it enters. It travels along the loose tube and degrades the coating metres away, which is why a small leak in a handhole can turn into a full span replacement. If you see condensation when you open a closure, treat the whole section as suspect instead of splicing over the wet part.
Fusion Splicing vs. Mechanical Splices vs. Fast Connectors
For a permanent mid-span repair, fusion splicing is still the benchmark. Mechanical splices and field-installable fast connectors are the practical answer when speed and minimal tooling matter more than a tenth of a decibel.
In practice, three things drive the choice: the fibre count you are restoring, whether the joint will live inside a sealed closure or in open air, and how fast the link has to come back.
| Attribute | Fusion splice | Mechanical splice | Fast connector |
|---|---|---|---|
| Typical insertion loss | 0.05-0.15 dB | 0.2-0.5 dB | 0.3-0.5 dB |
| Typical reflectance | Below -60 dB | Around -40 dB | -35 to -50 dB |
| Main tooling | Fusion splicer and cleaver | Cleaver and splice protector | Cleaver and assembly tool |
| Time per fibre | 2-5 minutes | Under a minute | 1-3 minutes |
| Best used for | Backbone, outdoor closures, long spans | Temporary restoration, low fibre counts | Drop cables, connector replacement |
| Re-workable on site | Yes | Rarely | Yes |
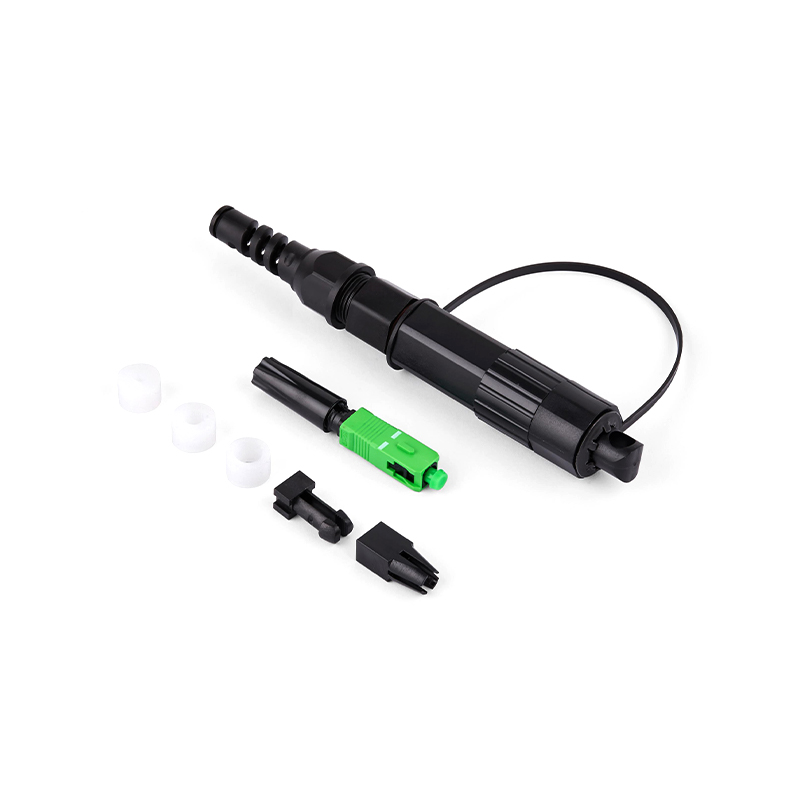
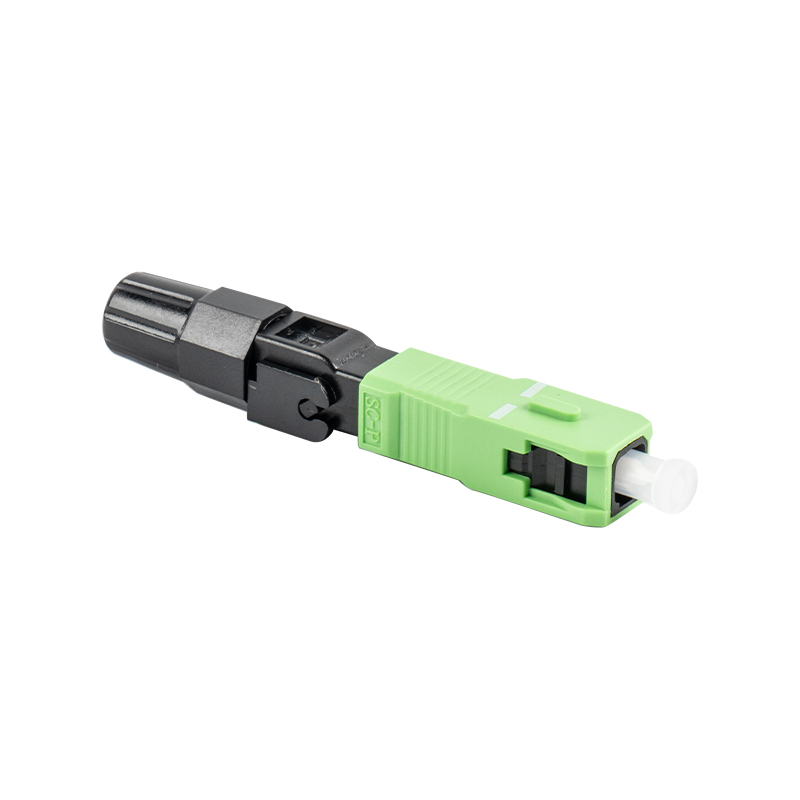
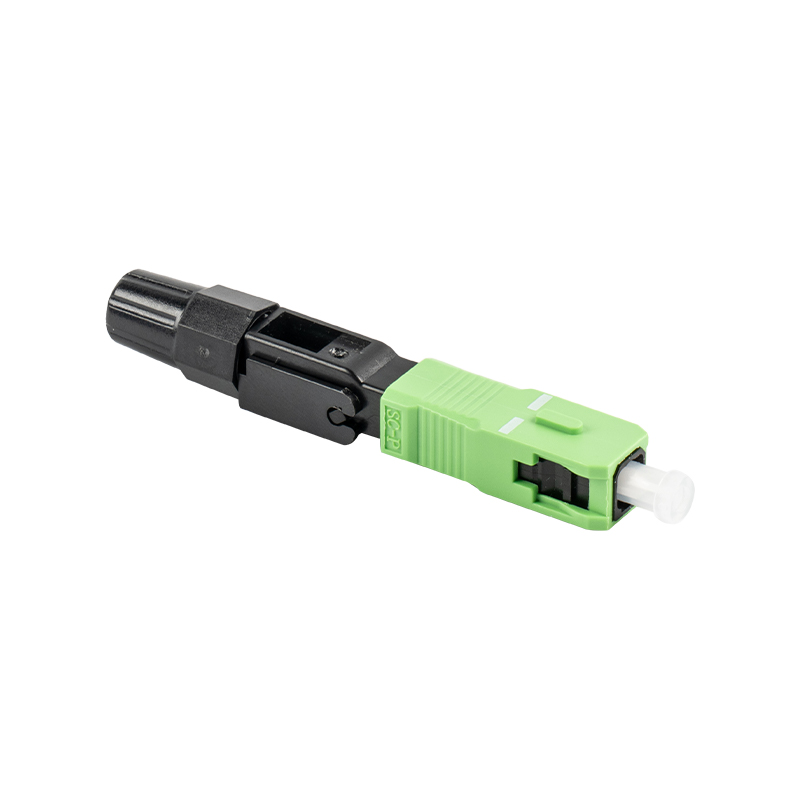
End-face geometry deserves its own warning. APC connectors use an angled ferrule, usually green; UPC connectors use a flat ferrule, usually blue. Mating one to the other produces high loss and a reflectance spike an OTDR will flag immediately, and it can permanently damage a polished end face. Carry both, and label them. For drop cables and emergency restorations, a field-installable fast connector lets one technician restore service without a splicer on site.
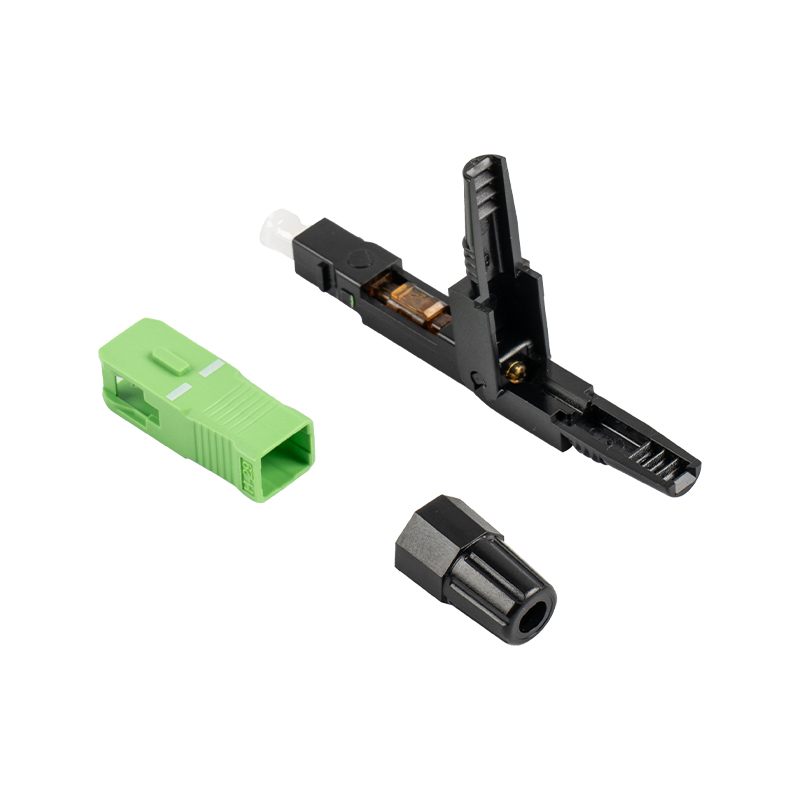 GSG-01-60mm-APC Horizontal Fiber Optic Fast ConnectorField-installable APC fast connector for on-site fiber termination, with pre-polishing, tool-free setup, 500 mating cycles, and support for common drop and round cable sizes.View Product →
A Seven-Step Repair Workflow That Holds Up in the Field
Follow the same sequence every time and a repair stops being a gamble: locate, isolate, prepare, splice, protect, seal, and verify.
- Locate the fault before you cut anything. An OTDR trace tells you the distance to the event and whether you are facing a break, a macrobend, or a dirty connector. Cutting first and searching second adds hours.
- Isolate and tag the circuit. Confirm which link is down, notify the network owner, and lock out the port. Never look into a suspect live fibre with the naked eye; use a low-power visual fault locator only.
- Expose the cable and create slack. Aim for at least one metre of loop on each side of the damage. A splice with no slack cannot be re-entered later.
- Cut out the damaged section and prepare the fibre. Strip the jacket and loose tube, clean bare fibre with lint-free wipes and 99% isopropyl alcohol, then cleave to the length your splicer specifies.
- Splice or terminate. Use fusion splicing for permanent joints, mechanical splices for temporary restoration, or a fast connector where the damage sits at the end of the run.
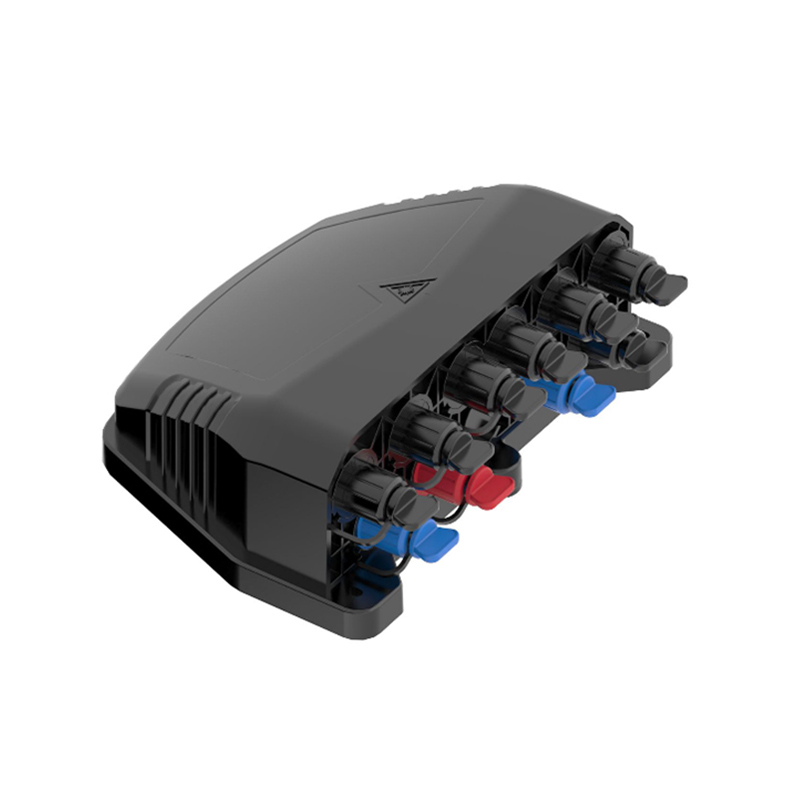
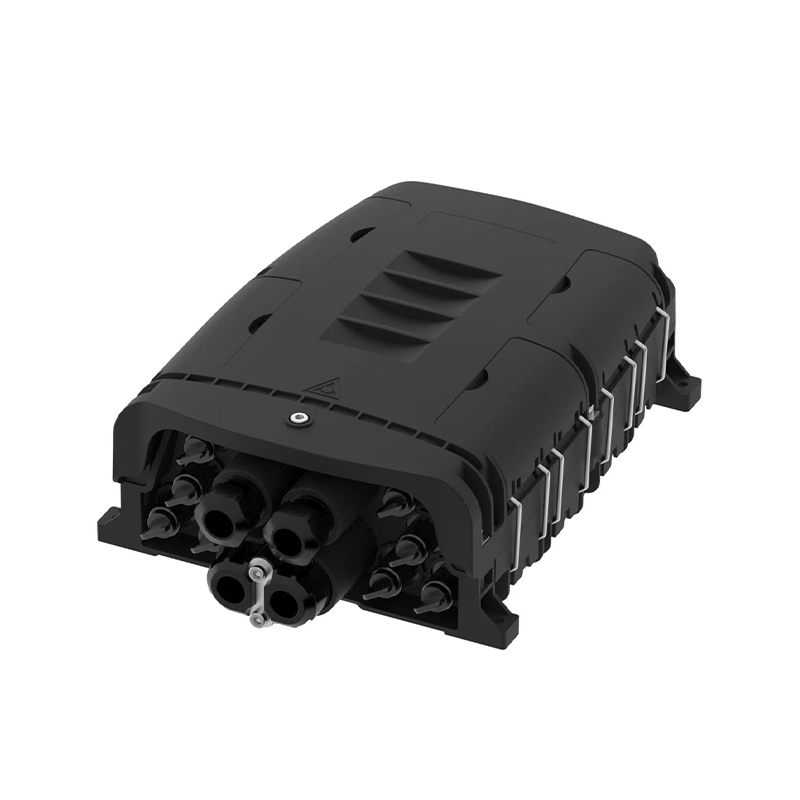
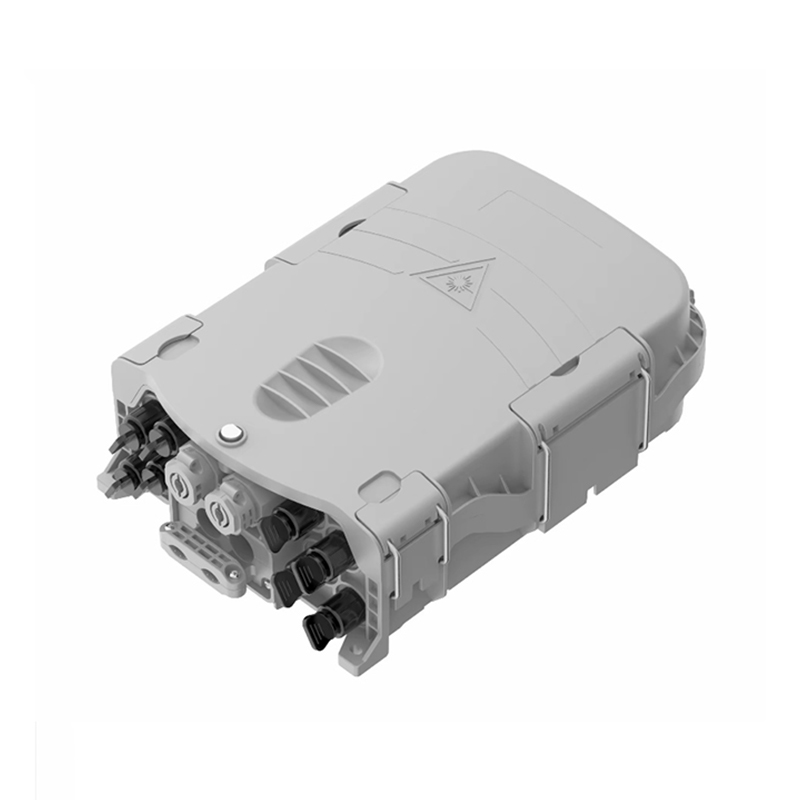
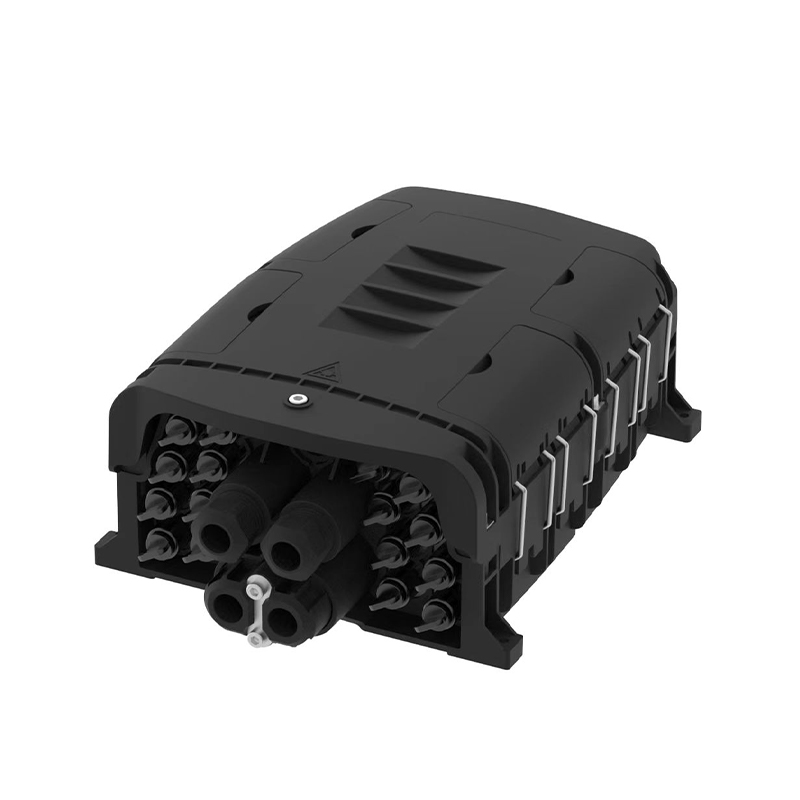
- Protect and seal the joint. Slide a heat-shrink protector over the splice, then close it into a rated enclosure. Port count and seal quality matter as much as the splice, so review the basics of fiber optic splice closures before specifying one for a flooded handhole.
- Re-test and record. Measure splice loss, end-to-end loss, and reflectance, then update the as-built records with the new splice location.
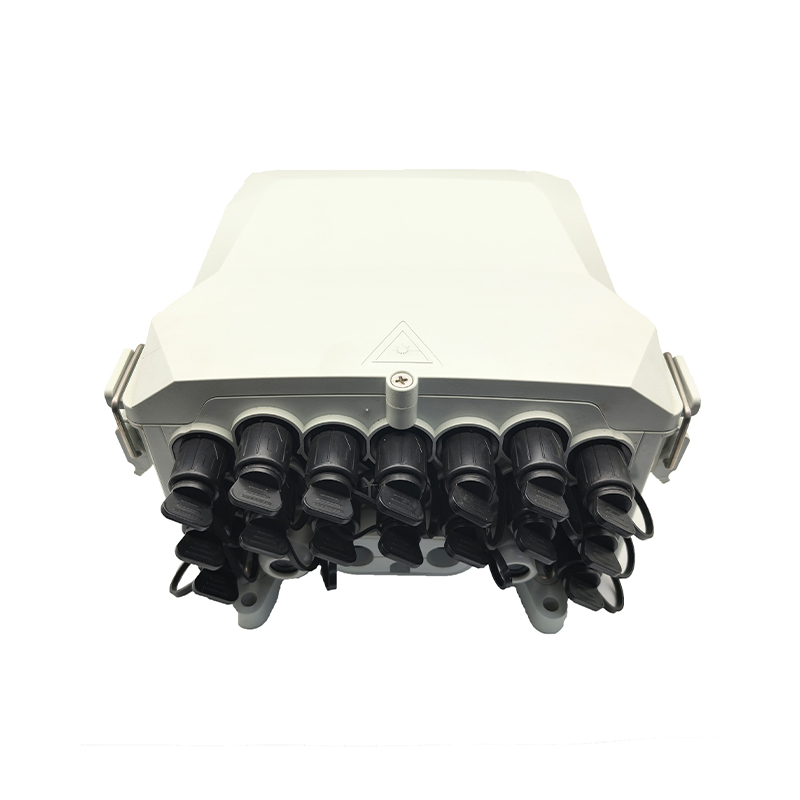
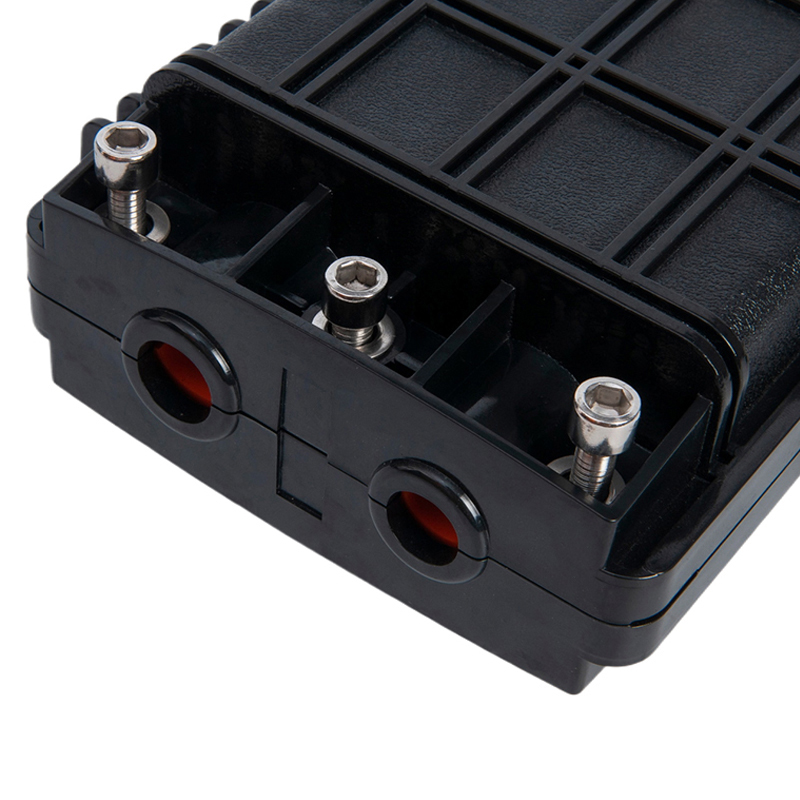 GSGSC008 Horizontal Fiber Optic Splice ClosureA horizontal straight-configuration splice closure for in-line connection of two cables, with accessible housing for inspection, repair, and routine maintenance.View Product →
Testing: The Step Crews Skip When They Are in a Hurry
A repair is not finished until a two-direction OTDR trace and a power-meter reading confirm it. A splice that looks perfect can still sit 1 dB hot and fail a link budget review three months later.
- Splice loss: 0.1 dB or less for fusion joints, 0.3 dB or less accepted for mechanical joints.
- Connector loss: 0.5 dB or less, with reflectance within -50 dB for APC and -35 dB for UPC.
- End-to-end loss: inside the design budget for the link, not merely better than the reading taken before the fault.
- Two-direction testing: measure from both ends, because mismatched backscatter can make a lossy splice look like a gain.
An OTDR with enough dynamic range covers both short drop cables and multi-kilometre spans, and stores the traces you attach to the work order.
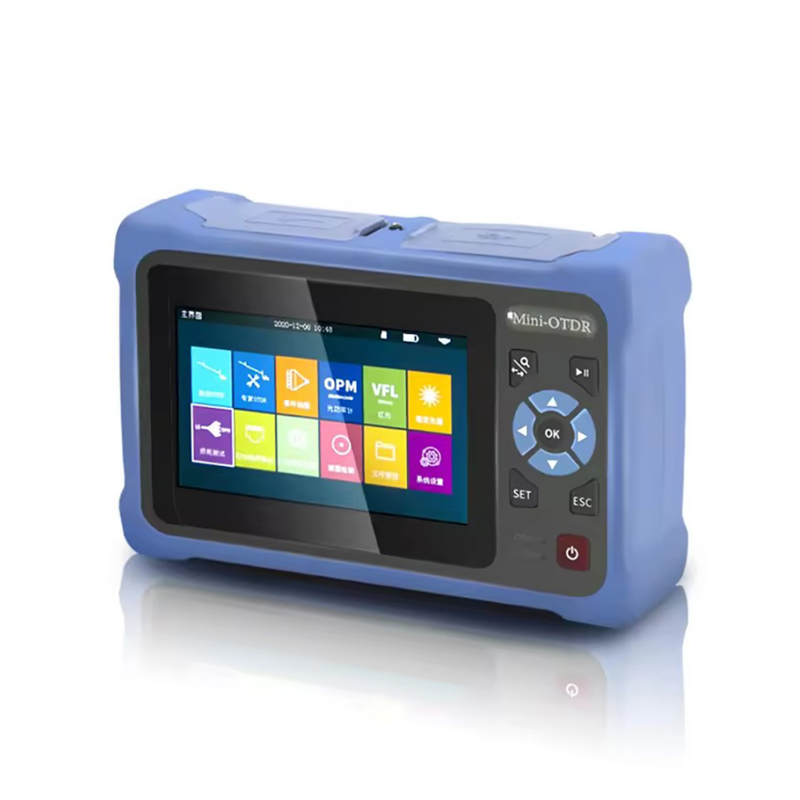 NK4000D OTDR in the NK4000 SeriesTouchscreen OTDR with auto and expert test modes, event mapping, OPM, cable tracking, high curve storage, and long battery life for field fiber testing.View Product →
Five Mistakes That Turn a Repair into a Callback
- Sealing a wet closure instead of replacing the wet span. Moisture migrates, and the next failure appears somewhere else on the route.
- Bending fibre tighter than its minimum bend radius. As a rule of thumb, keep 20 times the cable outer diameter under load and 10 times when unloaded; tight coils in a small box are a classic source of macrobend loss.
- Mixing APC and UPC end faces, or forgetting the adapter key. The damage to the polished end face is permanent.
- Over-stripping and nicking the cladding. The fibre passes the test, then snaps during a temperature swing.
- Leaving no slack and no service loop, so the next technician has to replace the whole span instead of re-splicing one joint.
When Replacing the Line Beats Repairing It
Replacement is usually the cheaper and safer decision when any of the following is true:
- Roughly 20-30% of a span needs to be cut out, or damage repeats within the same run.
- Water has migrated beyond the immediate break, leaving the loose tube wet for tens of metres.
- The cable has already been repaired repeatedly in one season; every splice adds loss and every visit adds cost.
- You need more fibre than the existing cable carries, or the installed fibre type cannot support the planned upgrade.
- The duct is collapsed, or an aerial span has lost its messenger and tensioning is no longer trustworthy.
Frequently Asked Questions
Can a cut fibre optic cable be repaired permanently?
Yes. A properly cleaved, fusion-spliced joint inside a rated closure performs as well as factory fibre, with typical loss under 0.1 dB. Mechanical splices and fast connectors suit temporary restoration or drop-cable work, but they add loss and reflectance, so treat them as a stopgap on backbone routes.
How long does a fibre optic line repair take?
A broken or contaminated connector is a 15-45 minute job. A mid-span splice on an accessible aerial or duct cable usually takes one to three hours including preparation and testing. Buried cable often needs two to six hours plus locating time, and flood-damaged spans can run to a day or more.
Do I always need a fusion splicer?
No. If the damage is at the end of a drop cable, or if restoring service tonight matters more than the last tenth of a decibel, a field-installable fast connector is a legitimate choice for that application. Keep the splicer for backbone joints where the link budget is tight.
How can I tell a broken cable from a dirty connector?
Scope the end face first, then read the OTDR trace. A dirty or scratched connector shows high loss and high reflectance confined to the connector itself. A break or a tight macrobend shows a distinct event or a sharp drop at a distance, with no reflectance peak when the fibre is broken cleanly.
Fibre line repair comes down to three decisions: identify the damage precisely, choose the joint that suits the application, and verify the result before you close the closure. Get those right and most repairs outlive the cable that failed.
If you are assembling a repair kit, or you need a closure and connector matched to a specific span, send our engineers the details and we will point you to the right parts.