Industry News
How to Install a Fiber Optic Fast Connector?
2026-01-23
Installing a fiber optic fast connector is a key skill for Fiber to the Home (FTTH) and on-site maintenance. Simply put, the installation process involves four core steps: stripping and cleaning the fiber, cleaving the fiber, inserting and securing it, and finally locking the housing. This cold splicing technology eliminates the need for expensive fusion splicers, allowing for high-quality connections in minutes using only simple wire strippers and cleavers.
Content
What is a Fiber Optic Fast Connector?
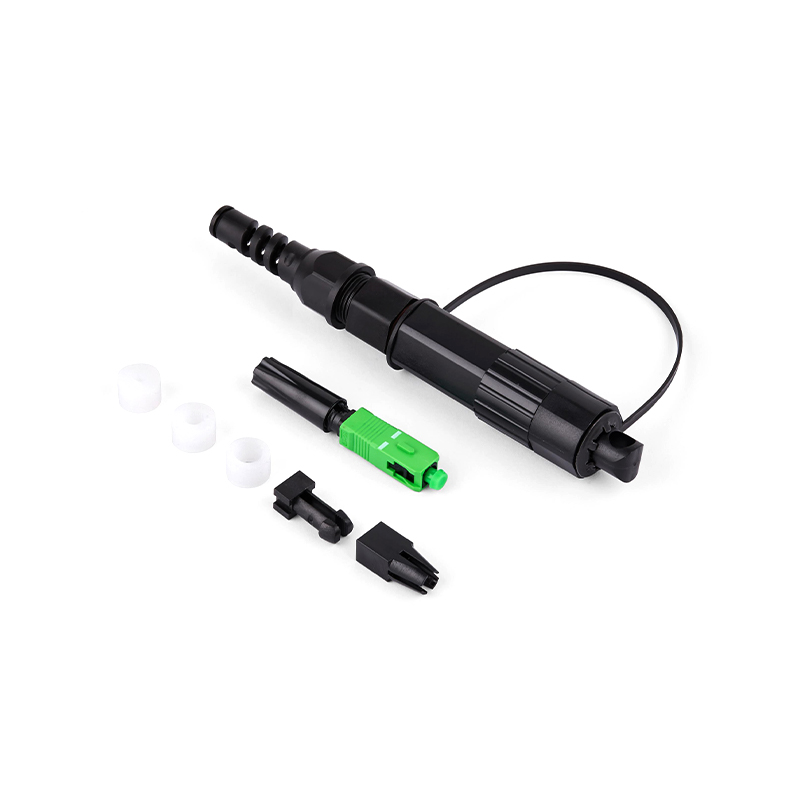
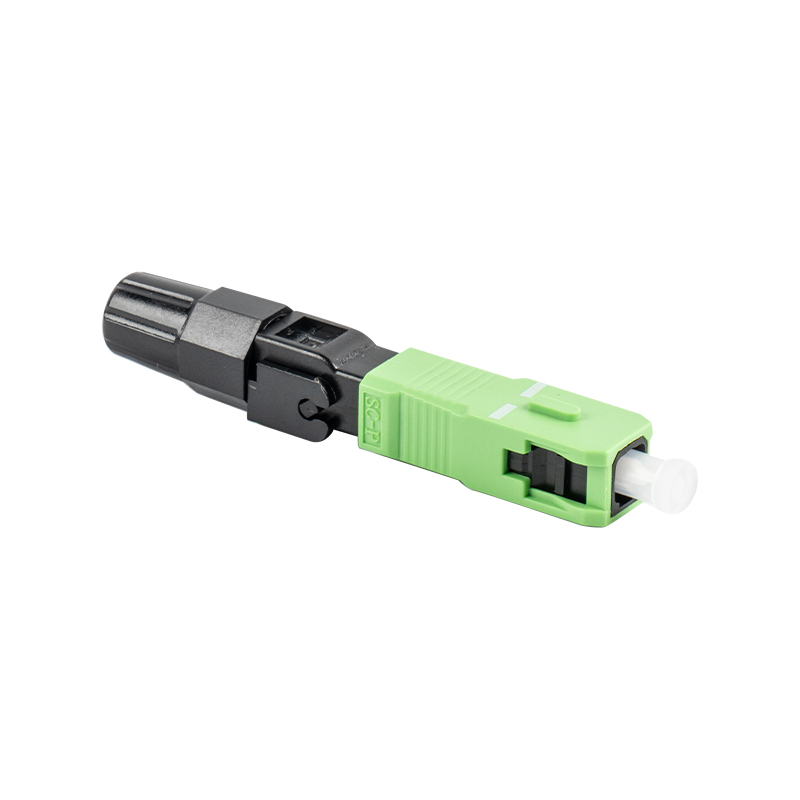
A Fiber Optic Fast Connector, commonly referred to as a "cold splice connector" in the industry, is a pre-polished, factory-grade connector. It contains a pre-installed fiber and refractive index matching gel. During installation, the prepared fiber is simply inserted into its V-groove for mechanical connection. It is widely used in optical splitters, distribution frames, and ONU terminals.
Tools Required Before Installation
Before starting, please ensure you have the following professional tools to guarantee connection quality:
- Miller pliers/wire strippers: Used to strip the fiber coating.
- Fixed-length fiber stripper: Ensures precise fiber stripping length.
- Fiber cleaver: A critical tool that determines the flatness of the fiber end face.
- Lint-free wipes and alcohol (99% purity or higher): Used to thoroughly clean the fiber core.
- Red light pen (optional): Used to test the connection for continuity.
Detailed Installation Steps
1. Inserting the Tail Cap and Stripping the Fiber
First, pre-insert the fiber optic fast connector's tail cap onto the fiber. Then, use a fixed-length fiber stripper to strip the outer jacket and coating of the fiber. The standard is to strip approximately 50mm of the outer protective sheath, exposing about 20mm of bare fiber (the specific length depends on the connector brand's instructions).
2. Cleaning the Fiber
This is the most easily overlooked but most important step. Use a lint-free wipe soaked in alcohol to vigorously wipe the bare fiber. A "squeaking" sound indicates that it is clean. Do not touch the cleaned fiber with your hands again.
3. Precise Cleaving
Place the fiber in the guide groove of the cleaver. Fiber Optic Fast Connectors have strict requirements for cleaving length (usually the bare fiber length is 10-12mm). Ensure the end face is flat and free of burrs.
4. Insertion and Mechanical Locking
Slowly insert the optical fiber into the connector body until the fiber shows a slight arc. This indicates that the fiber core is in close contact with the pre-installed fiber. At this point, press down the top locking cover (crimping part) to secure the fiber.
5. Housing Assembly
Push the tail cap back and tighten it, then attach the connector housing. At this point, a red light pen can be used to shine light from the other end to check for light leakage at the connection point. No light leakage indicates a successful connection.
Tips for Improving Connection Success Rate
- Maintain a clean environment: Dust is the biggest enemy of fiber optic quick connectors and will directly lead to excessive insertion loss.
- Cutting precision: If testing reveals high attenuation, it is usually caused by an uneven cutting end face. Recutting is recommended.
- Do not use excessive force: When inserting the optical fiber, use gentle force to avoid breaking the fiber core or damaging the internal V-groove.
Mastering the installation techniques of fiber optic quick connectors can not only improve construction efficiency but also significantly reduce the maintenance costs of fiber optic networks.


get in Touch

No.255 Lianfei Road, KandunIndustrial Park, Cixi City, ZhejiangProvince, China
Product Center
contact details
-
Email: [email protected]
-
Tel: +86 18367407397
Mobile
Copyright ? Ningbo Goshining Communication Technology Co., Ltd. Fiber Optic Solutions Manufacturer Fiber Optic Products Factory
